October 31, 2013

Halloween Treats, Fun, and Decor

I'm a little mad at myself for not being able to blog as much since college has started. I thought this term would go a little more smoothly for me, and it has except it seems like I have had more going on than I ever could have thought was possible. So because I didn't get all of my "Halloween stuff" up to share with you all, I figured I'd just do one big last Halloween post since it's Halloween and I won't get another chance. So I'm going to share on here the last of my Halloween décor and all the yummy fun the family has had this month!

Let's start with Halloween treats! Yummy!

My younger daughter Cameron and I whipped up some yummy ghost and mummy cupcakes

I let the kids practice their frosting skills ....it's not about the looks it's about the fun!
One morning my little guy wanted "special" pancakes so I made him a pumpkin
I know our family eats a lot of sweets.....anyways we whipped up some Halloween chex snack mix
I'll have you know I have never had a cavity, I'm not sure how but it's the truth.
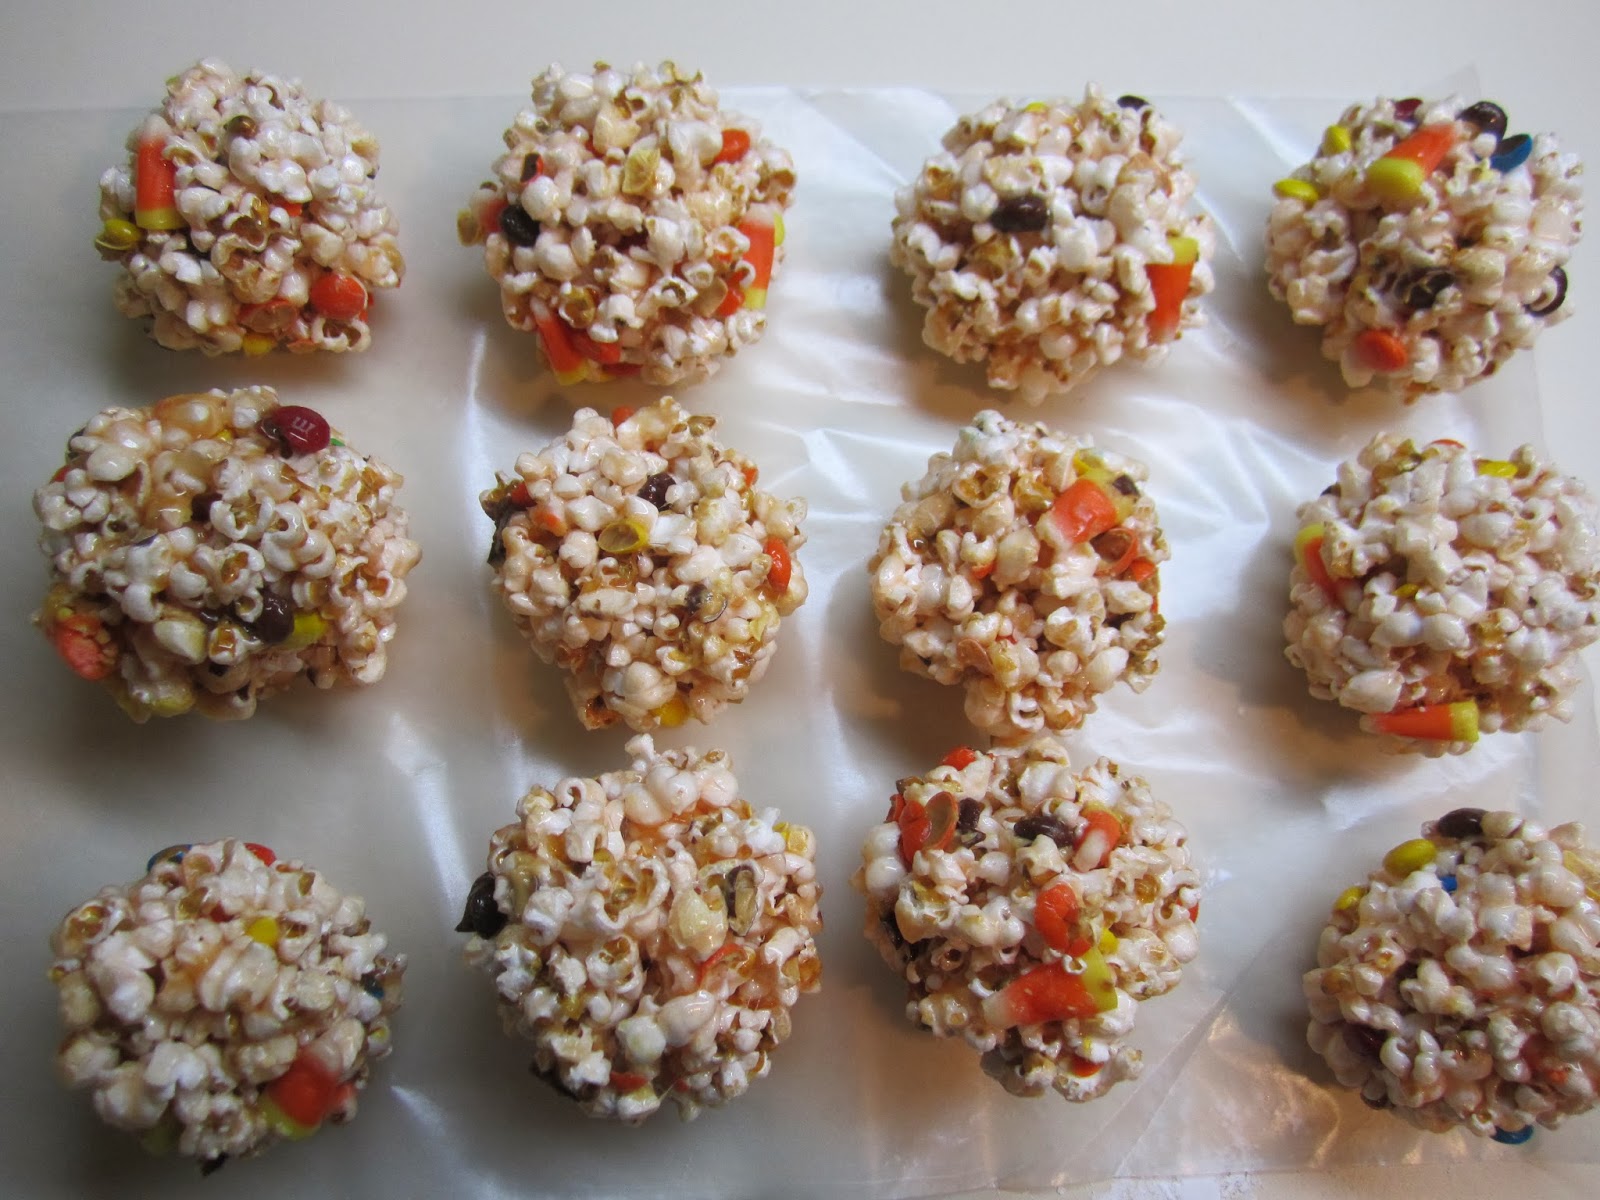
Anyways my Mom used to make these every Halloween for us kids. Although popcorn balls are yummy they are still hard to eat, but it's worth it!
Cameron loves her sweets as well! Like Mother like Daughter :)
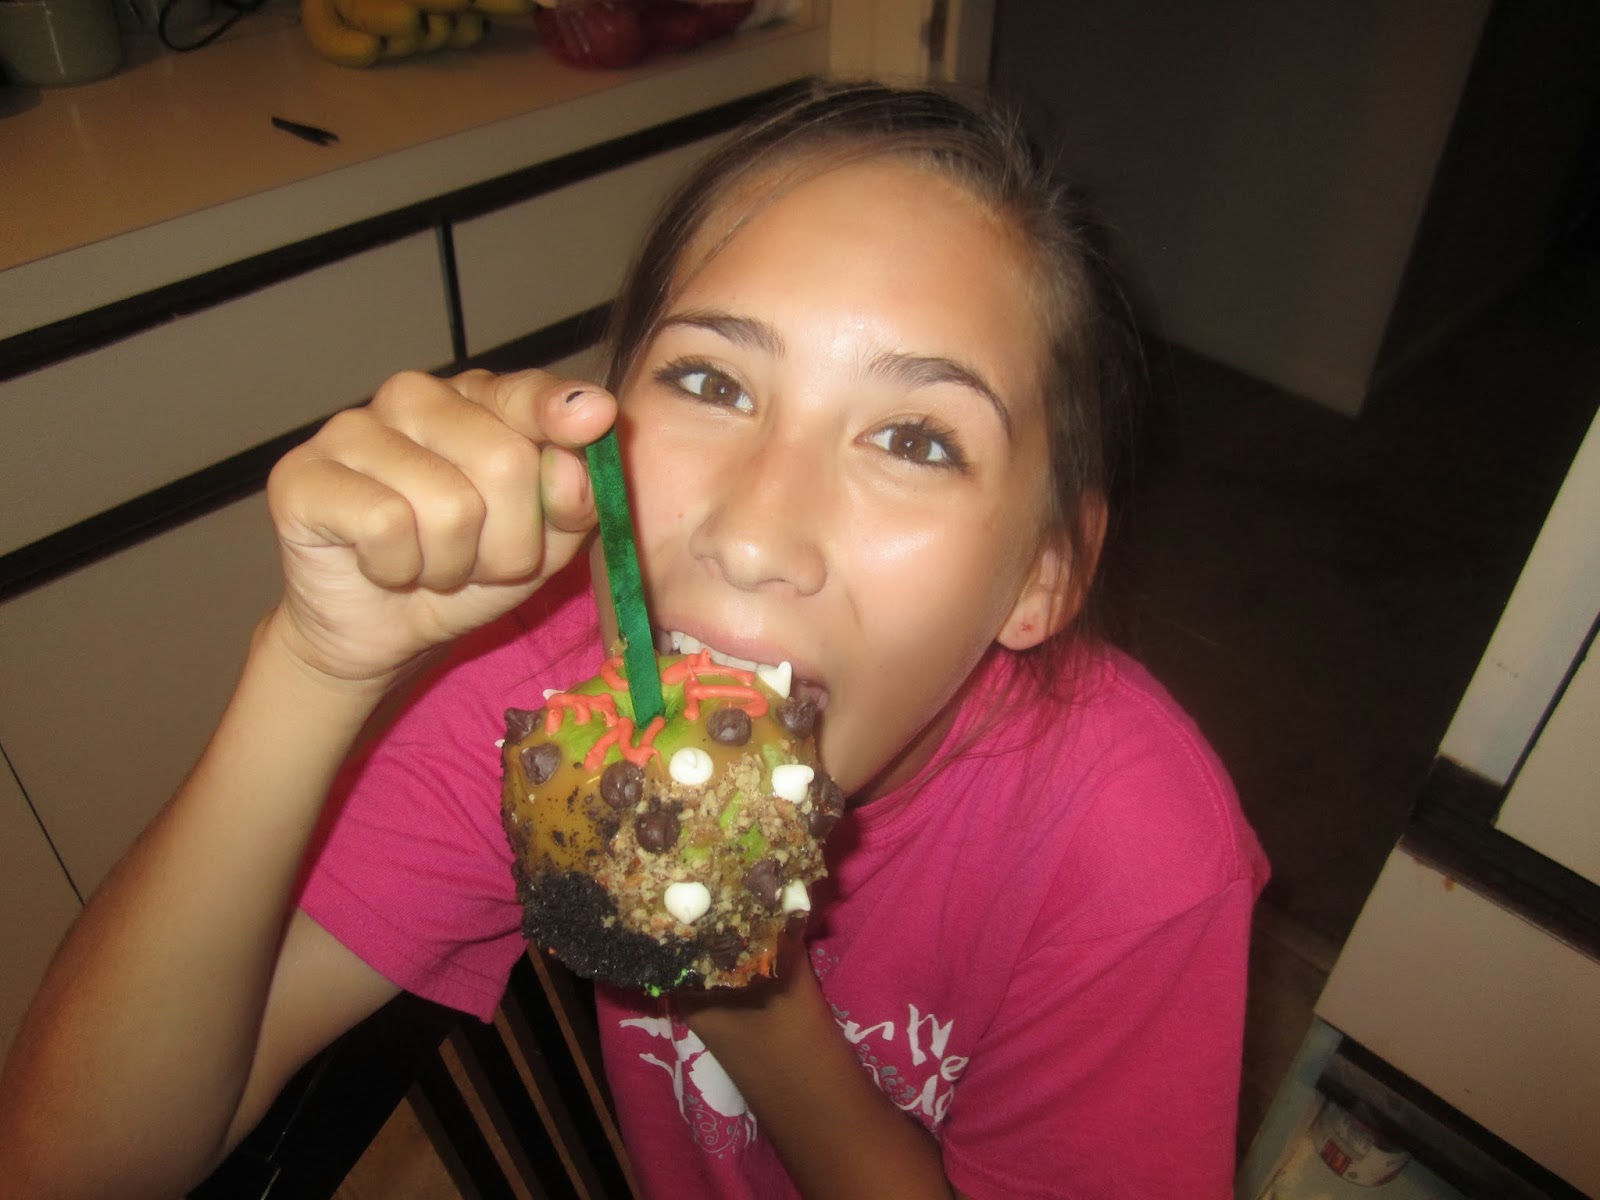
I finally got the oldest in on some fun! Jaden is always so busy I almost don't get to see her anymore. The life of a teenage girl!
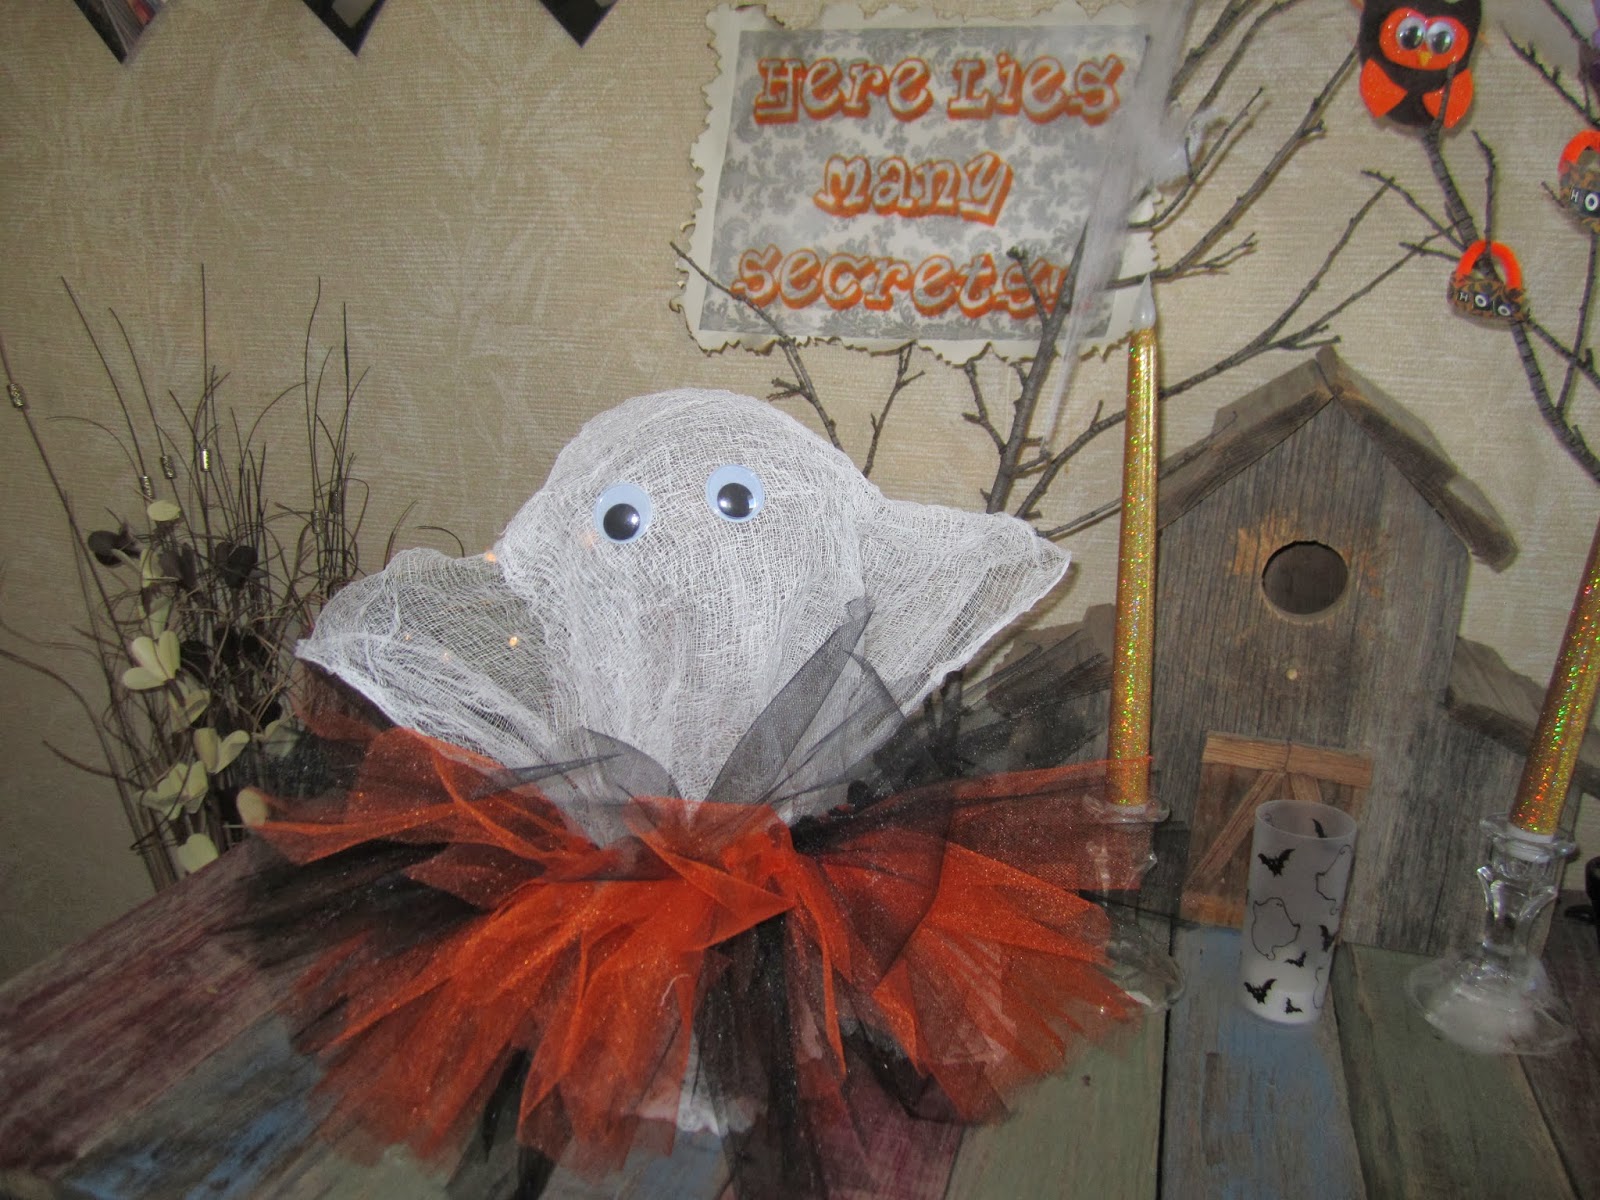
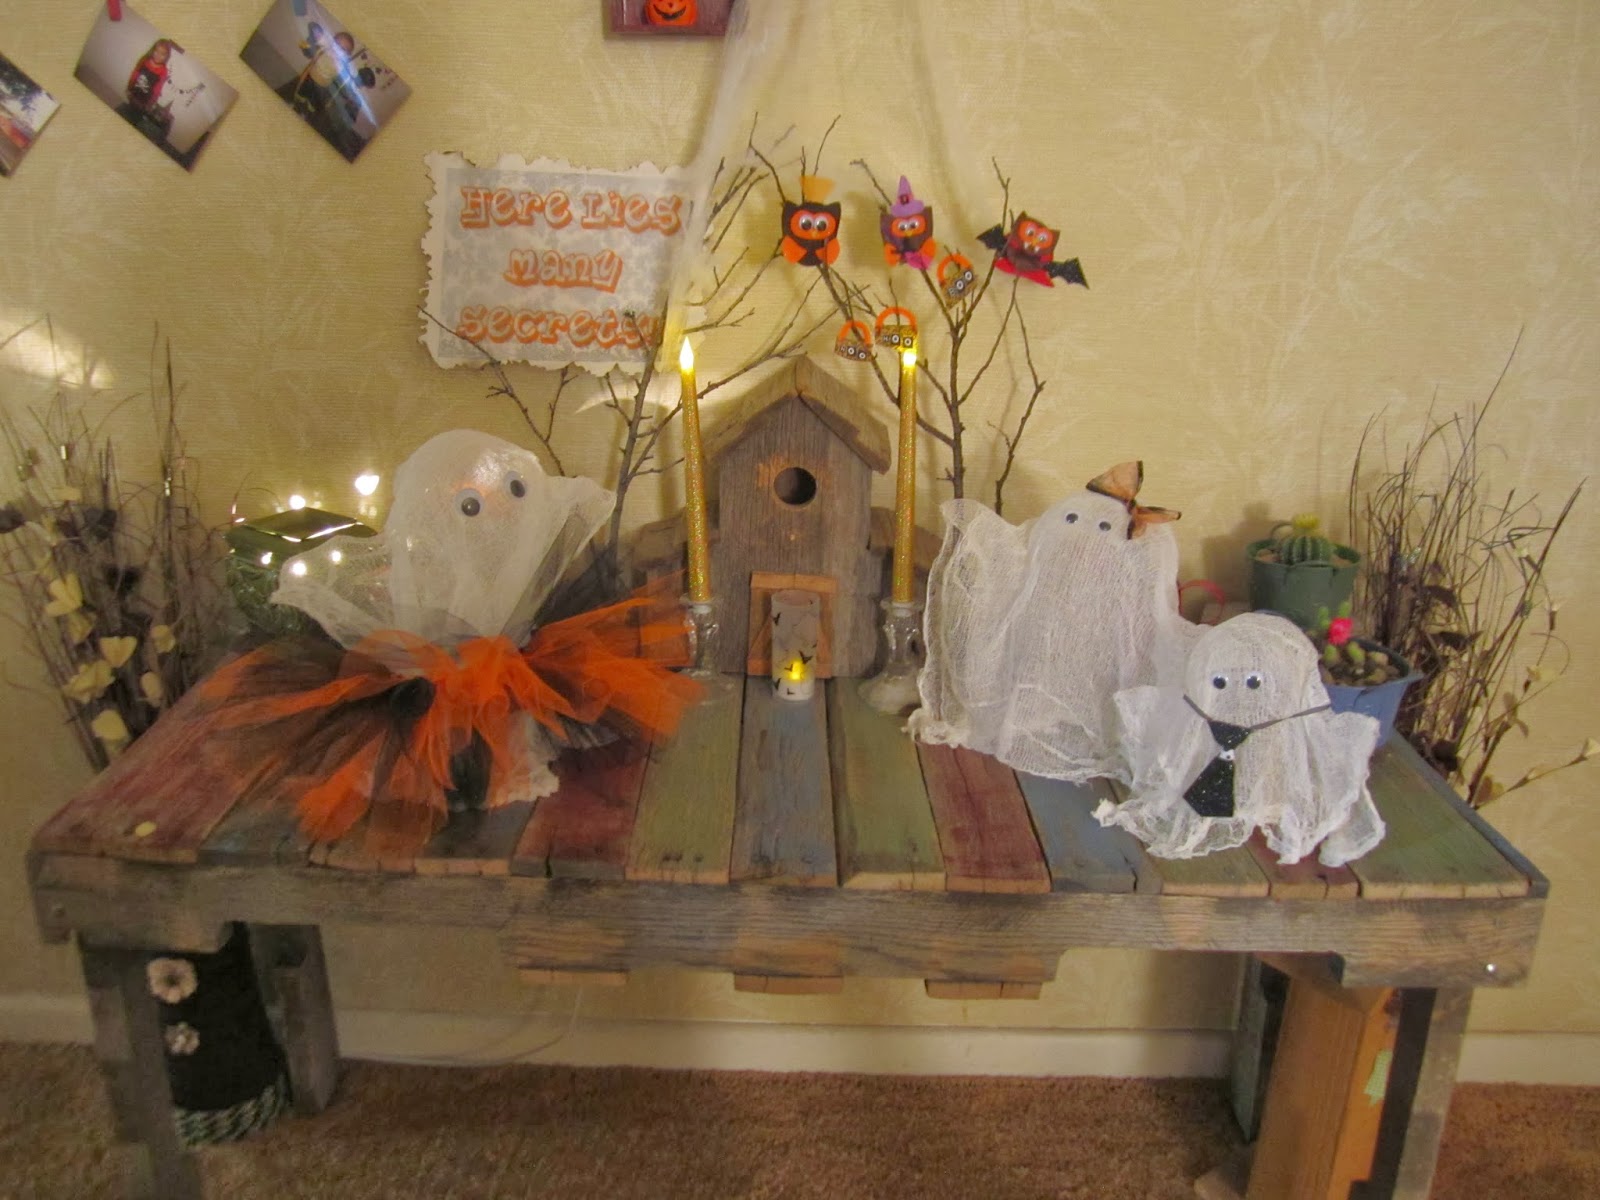
Now onto the rest of my Halloween décor!
This is my spider and his web. I made the web with Elmer's glue and glitter. My spider was made from pom-poms and pipe cleaner. (I did a guest post over at Blissful and Domestic and you can find more about this spider over there...10 Frugal Halloween Decor Ideas)
I seen these "feather trees" at Hobby Lobby and tried to make my own. I don't like how they turned out and I'm going to make another attempt next year and take my time, but for now it added some nice décor to the house.


This is my witch's table. I made the witch's hat from cardstock. The potions I put some paint inside little jars. For the witch's brew I used some foam sealant and added some parts to it. I made the little clothes from felt. (You can also find out more about this witch's table over at Blissful and Domestic also on the same post...10 Frugal Halloween Decor Ideas)

I added some bats to my light for a little fun. (Again to see more about this decoration hop on over to Blissful and Domestic and check out my guest post 10 Frugal Halloween Decor Ideas)

For my ghost mirror I used frosted glass spray. (To find out more about this lovely ghost mirror head on over to Blissful and Domestic and my guess post 10 Frugal Halloween Decor Ideas will give a little more detail)

Who could forget carving pumpkins!!! My son wanted Sponge Bob...I guess he turned out o.k.

Cameron wanted a haunted mansion...this is a little more my area since I stink at carving pumpkins!

Jaden wanted ghost...I'm kinda sad because I couldn't get a good shot of this one so it actually looks a lot better in person!
Well thanks for letting me share the rest of my HALLOWEEN FUN with you all!
What have you done for the month of October??? It's always a fun month!


October 25, 2013

Cheesecloth Ghost In Style

Today I'm going to share with you my "Haunted House" table. The star of the show is my cheesecloth ghost and in the background we have a "scary haunted house," with dead tree limbs, felt owls and a sign as added décor.

I really wanted to spend more time on this entryway table and make it pretty awesome upon entering the house....unfortunately this was one of my last projects I got too in my living room and I didn't have a whole lot of time to spend on it. Since I moved into a larger house this year most of my decorations are new and mainly DIY projects. Since I didn't have a whole lot of time I decided that I would focus mainly on the fall décor this year.

Anyways what Halloween décor I do have I love especially these cute little cheesecloth ghost. To make cheesecloth ghost you need cheesecloth, liquid starch, and something for the cheesecloth to drape over while it dries like a bottle and a ball. You can find many ways to do this online. I decided I wanted 3, one for each of my kids. My middle daughter helped me decide how to make the ghost. She wanted them to look like they were dancing so dancing ghost we have.

 This ghost is my oldest daughter Jaden and we decided to put a tutu on her. You need a dress to go dancing right? Since my daughter has entered high school there are dances and they have to have fancy dresses, so it seemed like the perfect idea for her ghost.
Now this ghost is my middle daughter Cameron and for a dance you need beautiful hair and what hair would be complete without a pretty bow? This was the perfect idea for her ghost because Cameron is known for her hair bows. I make all her hair bows and people always tell me they look forward to seeing her bows each day.

Now this little ghost is my little man Zane. When going to a dance you need a suit and tie right? Well this was just the perfect touch to this little ghost. Now go get your groove on!

Now here is the background behind the ghost. As you see I have some light up candles, dead tree limbs, felt owls, a sign, and a "scary haunted house."

 I made this sign because our last name is Secret...so here lies many Secrets at this haunted house.
For the owls I just made them from felt and hung them in the trees. These also represent my kiddos :)
They find it funny when I make stuff of them.

Here is the final product, my somewhat scary, haunted house. I know my table is a little boring but I think the ghost add a nice touch to it especially since they came in style!
So how do you decorate your tables for Halloween?
Thanks for stopping in, until next time...


October 21, 2013

Spooky Burlap Banner With Ghost


BANNERS!!!
How I love to make seasonal banners and display them.
It's fun to see my customer's faces when they pick up their banners from the store and what can I say, I love to have banners at home too!
This year for my Halloween banner I thought it would be cute to have ghost and lights with it. I thought it added the perfect touch to my lite up ghost.
I'm lucky enough to be able to make my prints on burlap with permanent ink (you can see a past blog post here), I cut out the banners to my liking and hang them. I think banners can add a nice touch to many things...weddings, seasons, birthday parties, and they are so easy and you can really get creative with them especially when using fabric.
For the ghost I used plastic ornament balls, covered them with white fabric, hot glued eyes on them, and stuck the light through the hole of the ornament. 

Here's a picture where my banner hangs without lights...

Here it is with lights...I know the picture does this NO justice of how cute it looks at night with lights off.

Here's a closer look at my spooky banner with no lights...

and here it is with lights on.

Here is a closer look at the boo part of the banner with no lights...

and here it is with lights.
So what creative ideas have you come up with for your banners this year??? I'd love to hear...it keeps me thinking about what I can do for my next crafting project!


October 18, 2013

Mummy I'm Scared

Hi everyone! I have a lot of DIY fall décor to share with everyone, and since my time is about to run out on Fall decorations I thought I'd start off today with some Halloween décor. With Halloween fast approaching and me having to take a month break from blogging, I'm a little behind on sharing my Halloween/ fall décor.
I love Halloween and what it has become, not what it once was about. I love to see the kids dress up and have fun getting candy. I do however hate the dark side of Halloween....not a big fan of the scary stuff. I still think that Halloween décor can be fun without being scary. I like cute ghost, cute spiders, you get the idea right? All the décor that is cute for Halloween and not the 'gothic' side of Halloween.
So let's start with my Mummy table. My children love the cuteness that Halloween can be too. So here's some examples of cute vs. dark. Let's get started!
I was going to make my own spiders for this project but I seen these at the dollar tree and thought they would be perfect for this décor project. So this is a before shot of the spider. 

Here is the after shot of the spider. It is now a mummy spider. I created him with some leftover scrap fabric.

Here is my mummy vase. I created it by using a small vase wrapped in gauze. I then stuck some roses in it for some added décor.

Now this little guy was fun to make. This is was what the décor was centered around. I wanted to make this sign ~MUMMY I'M SCARED~ but I couldn't come up with the right thing to wrap with fabric. I tried stuffed animals, nothing was working to make me the perfect mummy. So I had to get creative and think outside the box. I decided to make my own mummy. To make this mummy I got some plastic grocery bags, (because you can shape them how you want them to be and they are squishy). I still wanted it to be like a stuffed animal. Once I got the plastic bags shaped how I wanted them to be I wrapped them with duck tape to keep its shape. After that I hot glued the scrap fabric around it, gave it a little bow, and put the sign in it's lap and the MUMMY was created. The kids absolutely love it and I think it turned out so perfect and cute.

I topped it off with some spider webs and here's the finished product of my MUMMY TABLE.  See you can do Halloween without scary!
How do you decorate for Halloween? SCARY, CUTE, or BOTH?


October 13, 2013

Burlap Tin Cans

Who is ready for some Fall Fun??? I have been so busy with college that when I do find some time I use it to decorate for Fall! I love fall, I got married during fall and it's such a wonderful time of year. Most of my decorations are new because I moved since last year and this living room is a lot bigger than my last house. So trying to find the time to decorate hasn't been easy and I'm nowhere where I want to be, but I'm loving the new look what I have accomplished.
So let's get started on one of my DIY decor projects!

In a previous post I posted my DIY painted cans for decor (if you want to see that post you can see it here). These are the tin cans I made and filled them with flowers for some wall decor. Well because they are screwed in I can change them out for season decor!

 So here is my new fall decor look! I got new cans and covered them with burlap. I added a burlap flower to the front. I then added some fall flowers and I have a new fall look!

 Here's an close up shot!
Here's an idea of what it looks like above the t.v.
(this is Jared's our t.v. so if you see a lot of sports on the t.v. you know why)
I love the fact that I can change the decor above the t.v. without putting too much effort in. Every season I get a new look without new decor. It's so easy to change it out and it's easy on the pocket book!

October 12, 2013

Caramel & Candy Apples

Busy, Busy, Busy, I have been, but not to busy to have some Fall Fun with the kiddos! 
A lot of my memories of fall was with my Mom, cooking! My middle daughter loves to cook with me, so this year has been extra fun for me because I have a cooking/baking partner who shares the same passion as me! Plus it's great Mother and Daughter time!
Well let's have some cooking fun making caramel and candy apples!
I have so many fond memories of making caramel apples with my Mom!
First you need some apples! I prefer granny smith apples but my husband likes red apples so we have a mixture of both.

Wash them, take off the stems, and place a popsicle stick in them.

Make some homemade caramel (recipe below).
Homemade caramel is so much better than store bought. My Mom taught me how to make it when I was a kid and I haven't strayed away from it. Caramel is one of my favorites!

 Dip your apples in your caramel.

 If you want put some nuts, crushed oreos, sprinkles, anything that your heart desires on them!
The kids had a blast decorating them and they look yummy!

 Enjoy!

My silly girl couldn't wait to bite in!

 I haven't figured out what the teen was doing...maybe trying to keep clean??
I'm not a big fan of candy apples and haven't made them before, but I love the way that the finished product looks. So I decided to give it a try. They turned out just as I thought... pretty and over all the taste was good esp. with the cinnamon, but still not a fan. You can find the recipe I used here.

Love this and the cinnamon smells so good :)

 I just love the way that candy apples look!

And because caramel apples are that good...you might just find your child in the fridge the next day. I believe his exact words were "I was just taking a bite out of all those caramel apples that ain't mine."

Fall, Fun, Food, Family...it can't get much better than this!

CARAMEL APPLES

12 apples (I normally have leftover caramel, which I like)
1 cup of butter or margarine
2 1/4 cups of brown sugar
dash of salt
1 cup of light corn syrup
1 - 14 ounce can of sweetened condensed milk
1 teaspoon of vanilla

Melt butter in saucepan.
Add sugar and salt and stir.
Add corn syrup and mix well.
Gradually add milk, stirring constantly ( I use a whisk).
Cook and stir over medium heat to firm ball stage (245°) for about 12-15 minutes.
Remove from heat and add vanilla.
Dip apples in caramel and enjoy!
For left overs cut into squares for caramel candies!

For a printable version of caramel apples click here

October 7, 2013

Living Room Reveal

Wow! I can't believe that I haven't blogged in a month. I decided that I wanted to go to college and was a little overwhelmed. I decided that I needed to set my blog aside until I got the swing of things. I'm still adjusting and I probably won't have the time to be on here like I want to be, but I still want to blog and share what I have been up too when I can find the time.

So the last time I was on here I had planned on the "big reveal" of my living room. So what am I waiting for? Let's start this tour!

Here is my what I like to call my "simple" wall. I've got my crosses w/ a mirror on one side of my window and on the other side I have my favorite wall picture.

Here is my "fireplace" wall. On one side of the fireplace I have family photos. On the other side is my t.v. with some simple wall hangings. On my mantle I have a clock above the fireplace with all my homemade decorations w/ praying hands under the clock.

Here is another wall with some more wall decorations. A basket and candle for simple decor on my coffee table.

Here is my half wall and my entry way.

  Here is a better look at my entry way.

Now here are all my decorations.

 These are my '"bird" items in my living room theme.

 These are just different decorations through out my living room.

These are all my "wood" pieces.

There you have it, my living room! The good news is I finally got to share my living room with you all. The bad news is my living room has changed. Actually that is good news. I got my fall decor up and can't wait to share my new fall look with you all!

You can find all of my homemade living room decor in past post!

Thanks for taking the time to stop in!

09 10