
School will be here next Monday. I can't believe how fast the summer went by. With school fast approaching I had to get started on hair bows for my daughter Cameron. Every year I make her bows and this year was no different. I shop for her clothes and then shop for ribbon that matches her clothes. So it's a tutorial about hair bows! How fun!
So last year I was trying to do something different with hair bows and picked up some tulle. I am so glad that I did because it is my favorite way to make hair bows now and I think they are the cutest. So I am here to share with you my TULLE BOWS!

For this tulle bow I am going to use 1 1/2 inch ribbon.

First I cut 5 pieces of ribbon. Each about 3 1/2 inches.
I then use a lighter and lightly burn the ends to keep the ribbon from fraying.

I fold it in half.

This part is optional because we will be doing some sewing but I like to add a dot of hot glue to keep it stuck together.

Now it holds together for the sewing part so you don't have to keep it aligned.

Now you should have five pieces.

Now you will need a needle and tread.
On one side of the ribbon, put the needle through it from the bottom side.

Next push the needle through beside it.
Don't tie it off but bring it to the middle.

Now that you are in the middle bring it up...

Again don't tie it off but bring it to the other end.

Bring it up....

Again do not tie it off.

Gently pull the sides together, but not too tight.

Using the same needle and tread go ahead and do the same to all ribbon pieces.
It should look something like this.

You will find that they have twisted, so carefully put them in their place.

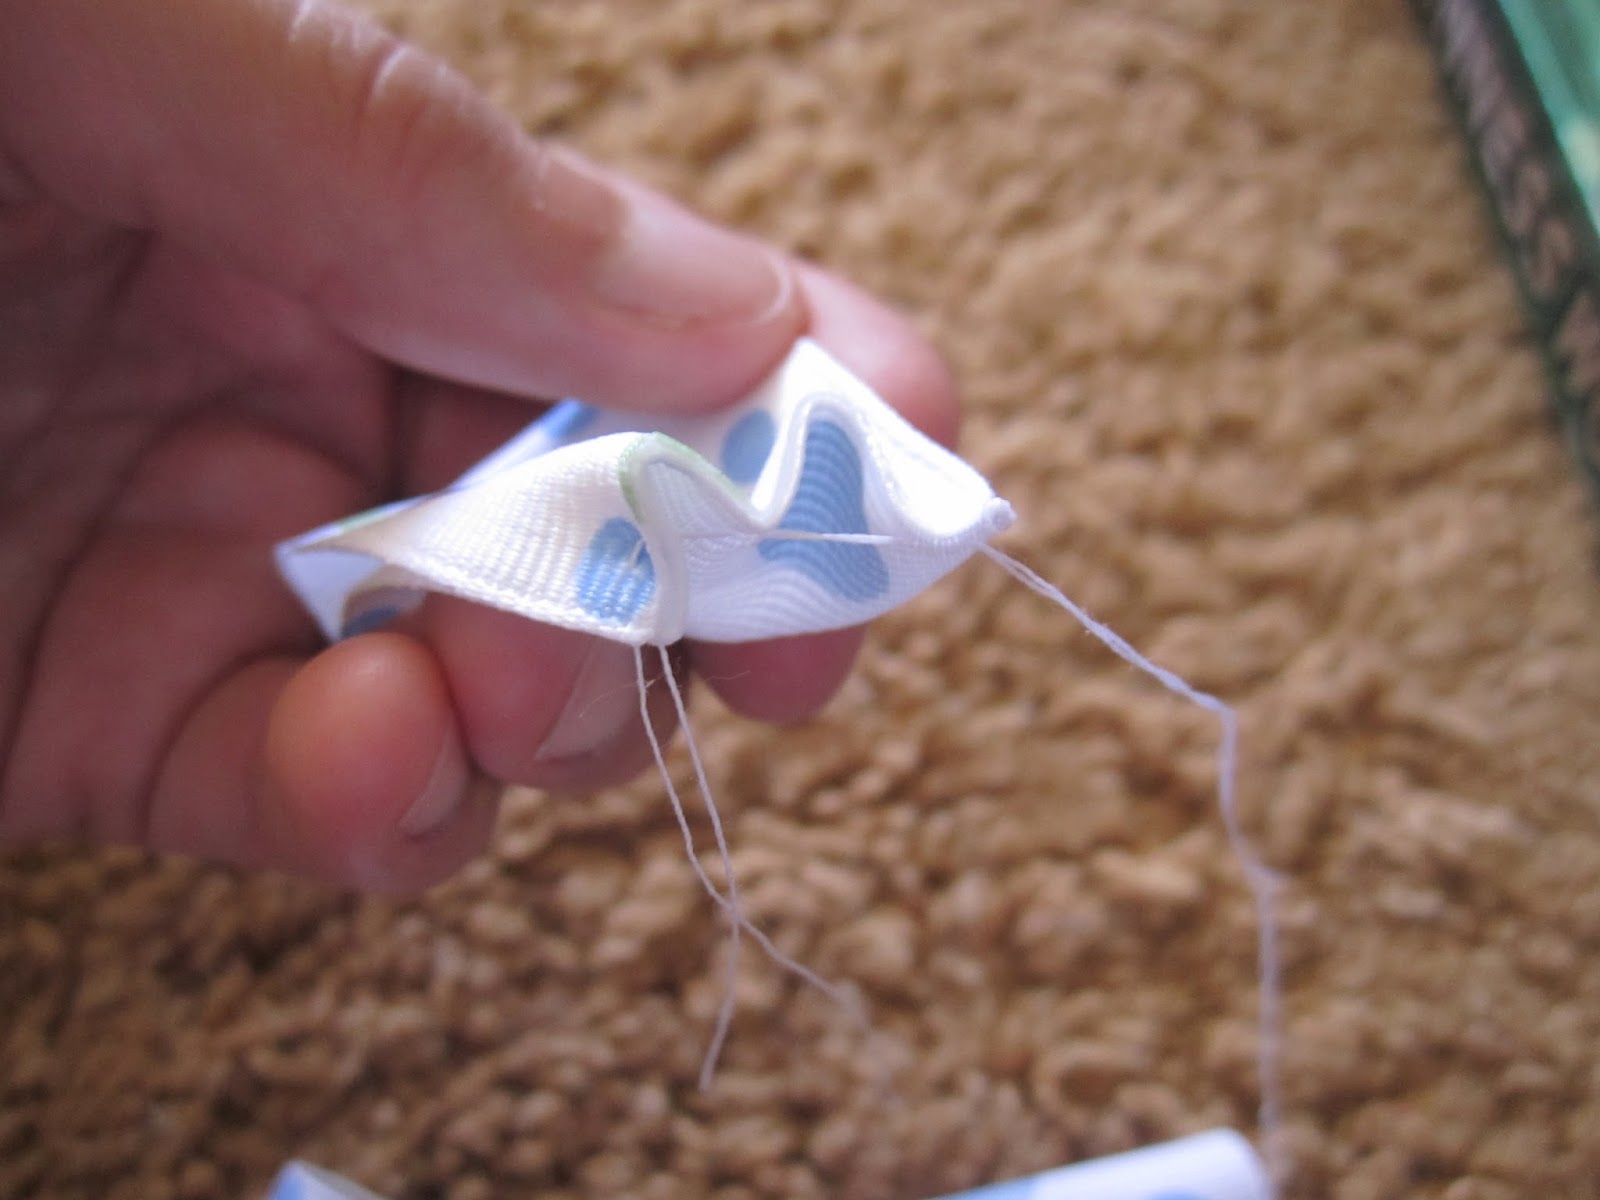
So go ahead a put the needle through the bottom of the first piece and then back down.

Now they should be in a circle.

Before you tie off your thread go around and push the sides together until they are tighter together.
Compare this picture to the one above.
Don't pull the tread to tight or it will break.
Don't worry about the gap in the middle, we will be fixing that and needing the middle.
Now tie off your tread.

Now your bow should be coming together.
If you compare this pic to the one above you will see that I went around and straighten out the ribbon.

I use my pill bottle lol, it's about an inch but anything will work to make a circle. You could even do it yourself if you wanted.


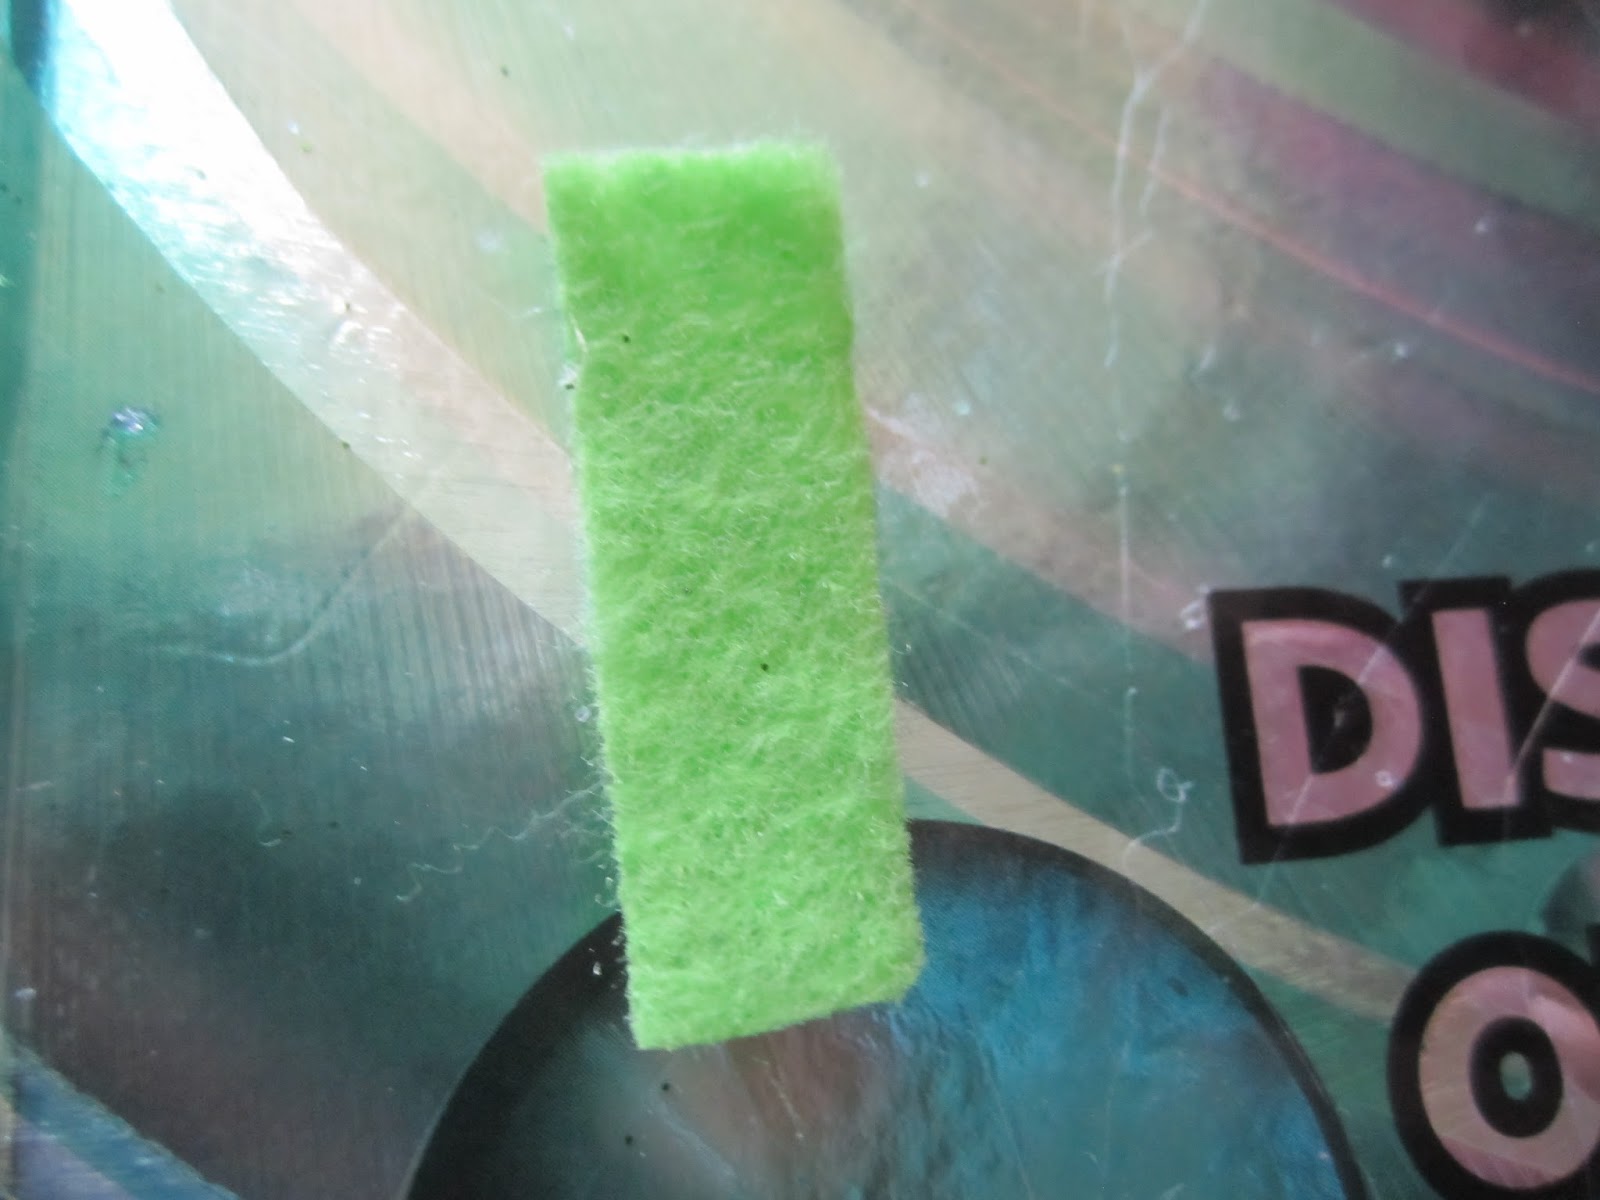
Now hot glue one side of the felt.

Put the felt on the back of your ribbon and push the ribbon and felt together.

Your hair bow should be coming together.

Now grab your tulle.
Tulle now comes in glitter, designs and all types of color.

I very very lightly go over the end with a lighter, but you can leave out this step if you want.

Just to get an idea you will fold it, like you did with the ribbon.

Can you see how it is folded?

You will repeat that, and go all the way around kind of like a flower.
I used this as an example, but that is the concept you will be using around the middle of your bow.

Remember that hole and felt in the middle?
Put a dot of hot glue in the middle and using the end of your tulle stick it to the middle.
I like to use a scrap piece of ribbon the smash it down.

Using the concept above make a flower all the way around your ribbon, gluing each time you come back to the middle.

I never cut my tulle until I get to the end because I never know how much I will be using.
Go ahead and cut your tulle and here is your hair bow.
I like to go around the edges of the tulle and spread it apart as you can see below.

I like to add something to the middle, in this case I used a gem.

Now go ahead and get your hair barrette.
I prefer these ones because they stay in my daughters hair without falling out.
You will also need a small piece of felt.

Go ahead and hot glue your barrette.

Put it on the back of your hair bow onto the felt.

Now get that other piece of felt and stick it through like this.

Go ahead and hot glue the felt to the felt.

This is what the back should look like.

Here's a picture of how it looks in your hair.
Now you have a pretty bow for your daughter, for you, or as a gift!
I hope you all enjoyed this hair bow because in the next couple of days I will be giving away 5 different hair bows to one lucky winner. So keep a lookout for the bow give away!
Link Parties: Adventures of a DIY Mom, {Ella Claire}, Two Yellow Birds Décor, Sew Much Crafting, Blissful and Domestic,
The Charm of Home, Wait Til Your Father Gets Home, A Peek Into My Paradise, Life on Lakeshore Drive, Keeping it Simple, Sew Many Ways
Love this! =) I've not seen that technique of making a bow... You wrote a great tutorial!!
ReplyDeleteHappy Wednesday!
Danielle
Thank you Danielle :)
Delete